Installations- und Kurzanleitung zum Foscam VMSLive VideoManagementSystem
Die Rademacher HD Kamera 9486 (innen) und 9487 (außen) kann theoretisch über den Browser bedient und konfiguriert werden. Da einige Browser die notwendigen PlugIns nicht mehr unterstützen zeigen wir hier die Alternative über ein Programm, welches Sie auf Ihrem Rechner installieren können und darüber die Kamera aufrufen.
Diese Anleitung enthält Verweise auf Applikationen von Drittanbietern, die sich der Verantwortlichkeit der Rademacher Geräte-Elektronik GmbH entziehen. Die Rademacher Geräte-Elektronik GmbH kann daher keinen Einfluss auf die Richtigkeit und Vollständigkeit dieser Anleitung nehmen. VMS ist eine Applikation der Firma Shenzhen Foscam Intelligent Technology Co., Ltd („Foscam“), TCL International E City, No. 1001 Zhongshan Road, Nanshan District, Shenzhen 518055, PRC. Wir weisen darauf hin, dass wir keine Kenntnis vom Inhalt der durch die Nutzung der Applikation übermittelten Daten, sowie deren Nutzung durch Foscam erhalten. Eine Weiterleitung und Speicherung personenbezogener Daten auf Servern außerhalb der Bundesrepublik Deutschland und der Europäischen Union ist möglich. Weitere Informationen hierzu finden Sie in der Datenschutzerklärung von Foscam unter: https://www.foscam.com/company/Privacy-Notice.html
Wichtig: Starten Sie die Konfiguration der Kamera erst NACHDEM Sie die Kamera an der SmartHome Box angemeldet haben, denn sobald Sie die Log In Daten der Kamera geändert haben, kann sich die SmartHome Box nicht mehr als Benutzer eintragen.
Download der Programme:
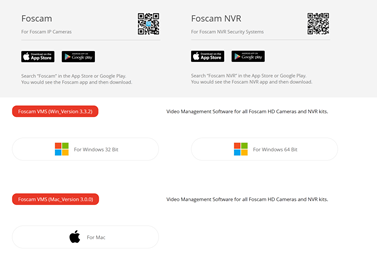
Die Software können Sie auf der Homepage des Herstellers der Kamera-Hardware direkt herunterladen
https://foscam.com/downloads/app_software.html
In dieser Kurzanleitung beschreiben wir die Installation und zeigen die wichtigsten Einstellmöglichkeiten.
Hinweis: Sie Software ist nur in Englisch verfügbar!
Installation der Software (Windows)
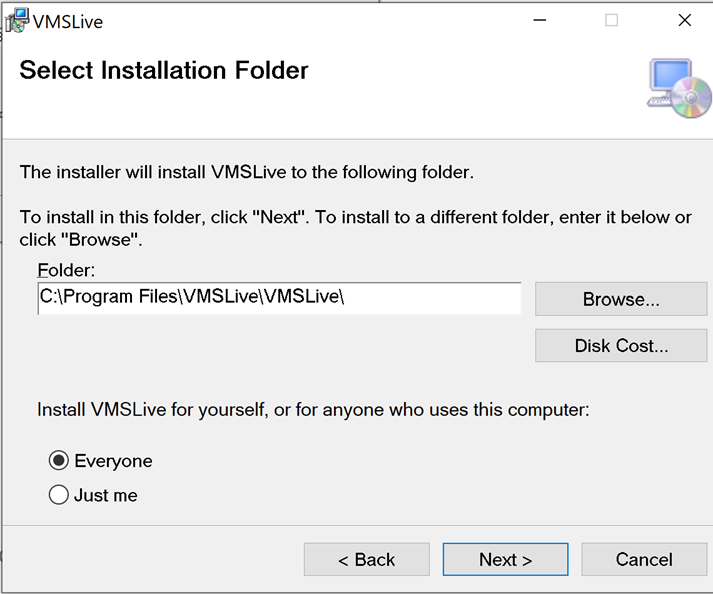
Wählen Sie die 64 oder 32 bit Version entsprechend Ihres Rechners aus und installieren Sie diese auf Ihrem Rechner. Datei muss gegebenenfalls extrahiert werden.
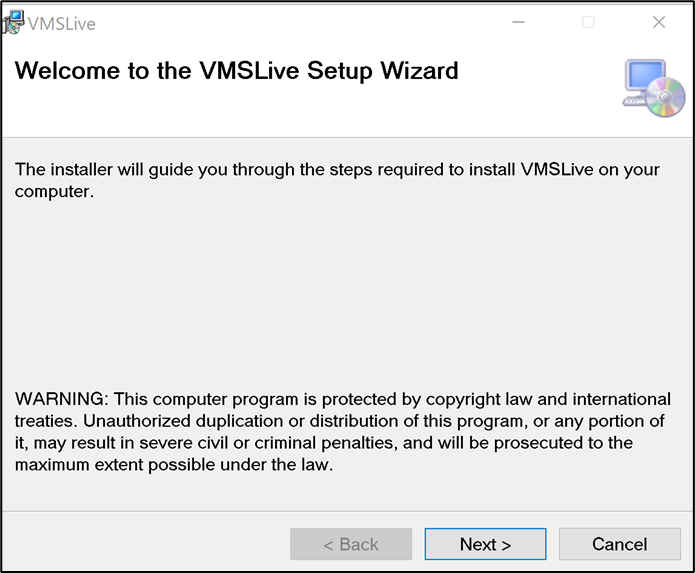
Doppelklick auf die Datei startet die Installation.
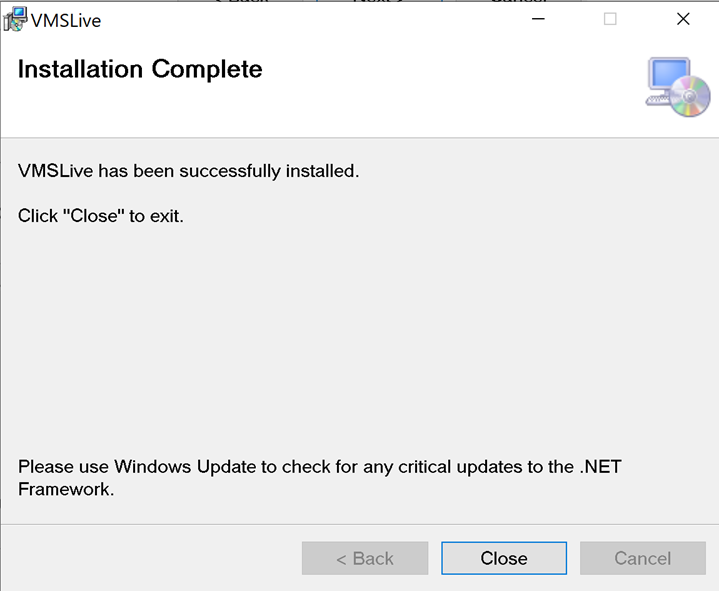
Microsoft DirectX
Bei dem ersten Start des Programms werden Sie eventuell zur Installation des DirectX aufgefordert. Führen Sie das bitte aus.

Hinweis: Die Bing Bar, die zur Installation angeboten wird, sollte nicht installiert werden. Häkchen bitte entfernen.
Kamera hinzufügen:
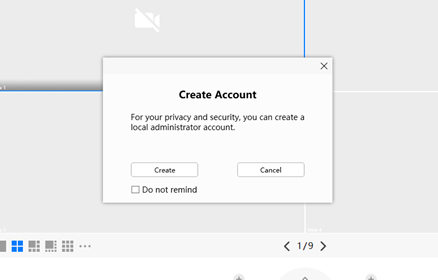
Starten Sie die Software, Sie können sich ein eigenes Konto erstellen, was aber nicht zwingend notwendig ist. Klicken Sie auf Cancel und setzten Sie den Haken bei“ Do not remind“ wenn Sie kein Konto erstellen möchten.
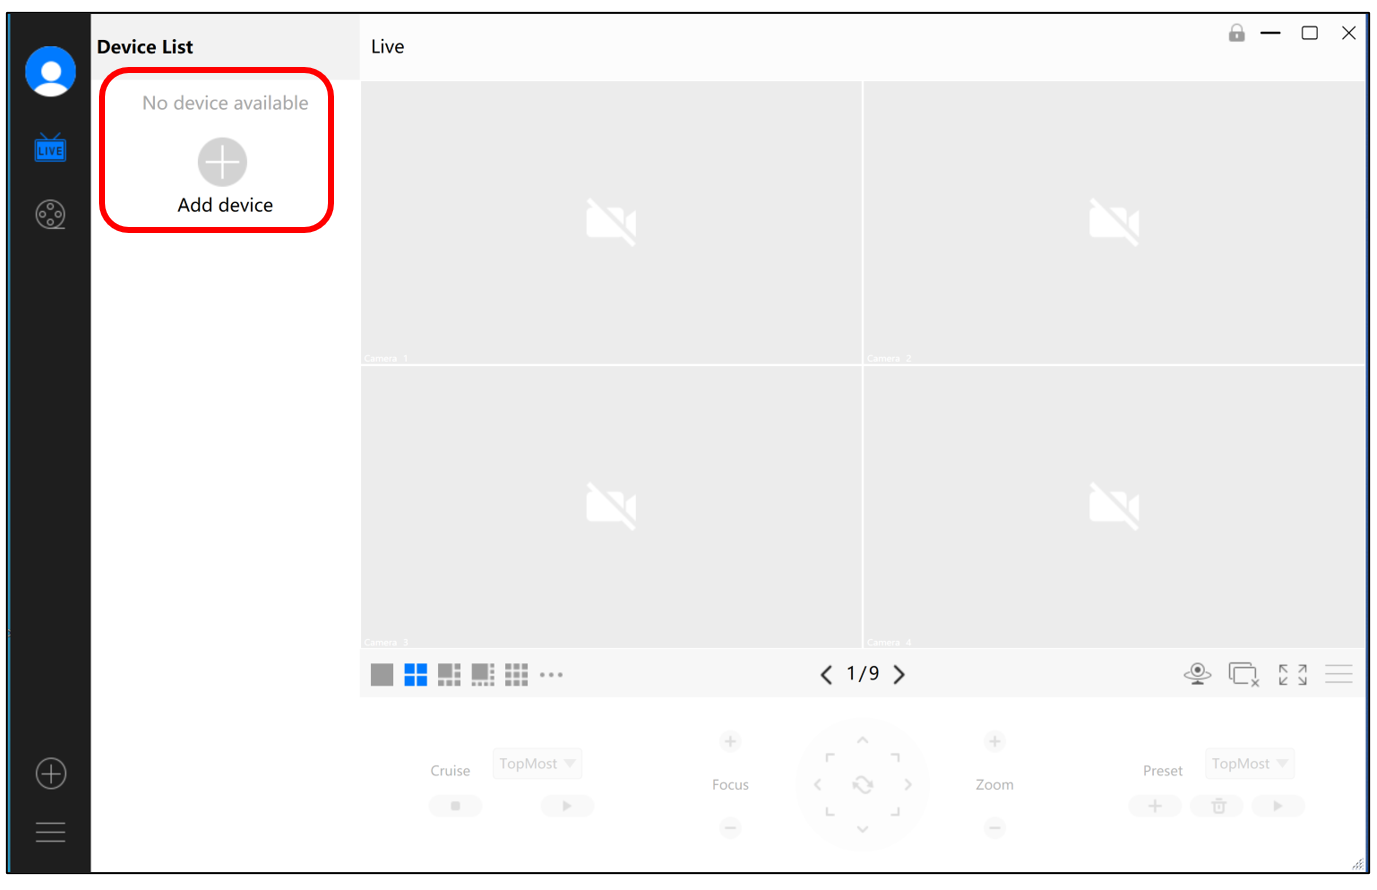
Fügen Sie jetzt Ihre Kamera hinzu indem Sie auf + Add device klicken.
Die Software such nach Kameras in Ihrem lokalen Netzwerk.
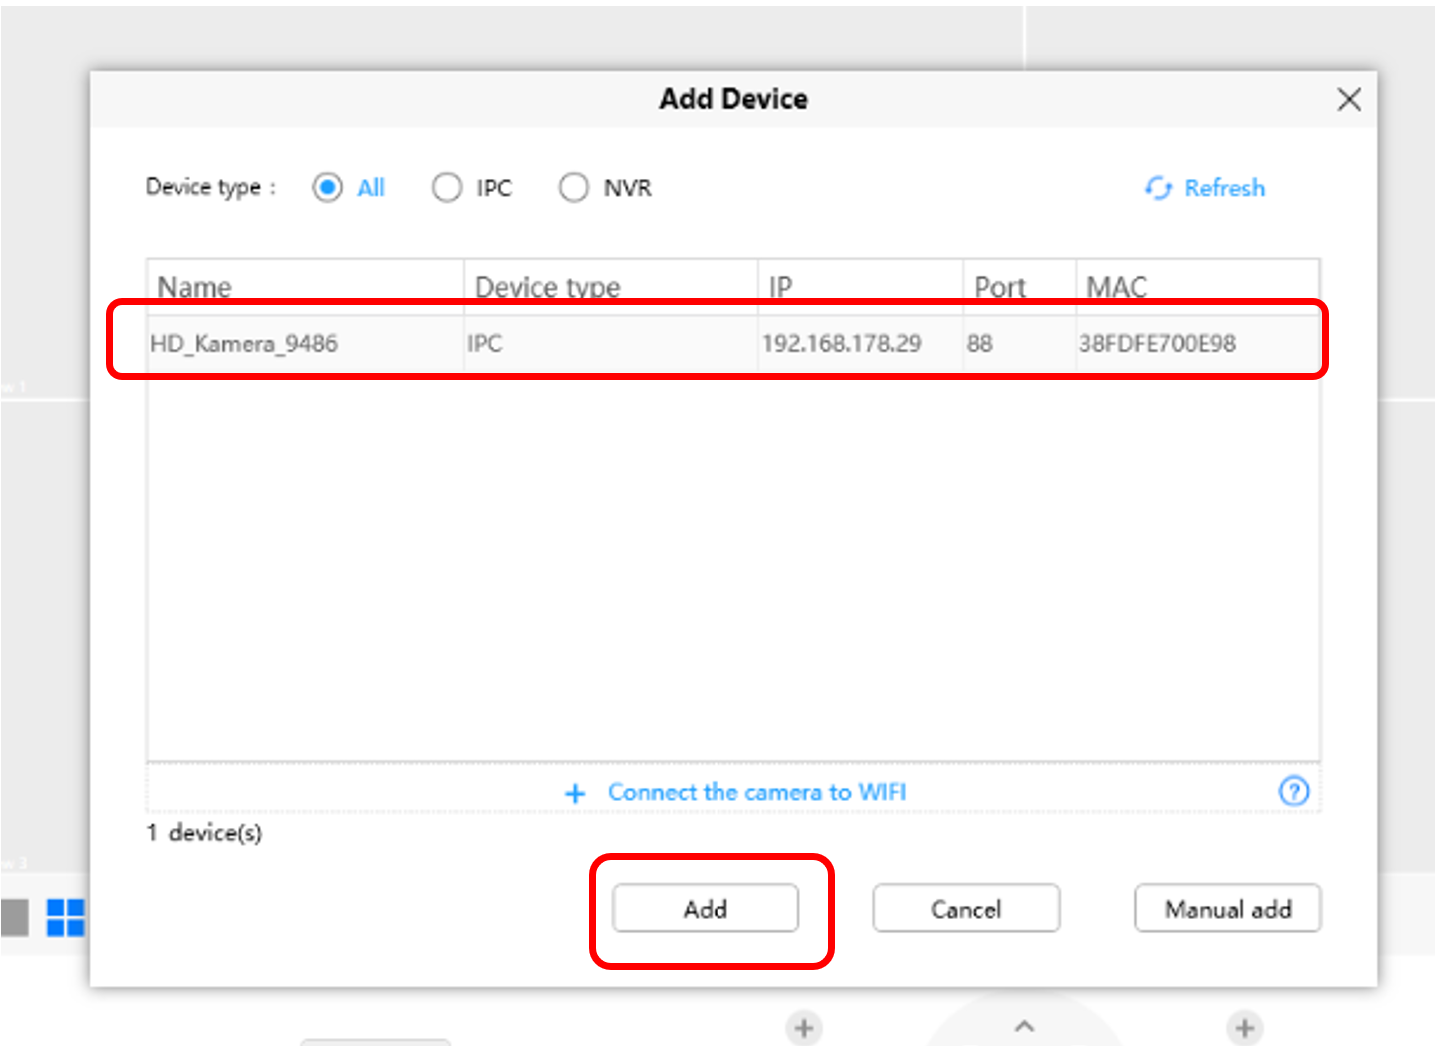
Alle gefunden Kameras werden aufgelistet. Wählen Sie die Kamera aus und klicken Sie auf „ADD“
Tragen Sie die passenden Zugangsdaten ein, werksseitig.
Device account: admin
Password: rademacher
Klicken Sie auf „Add“
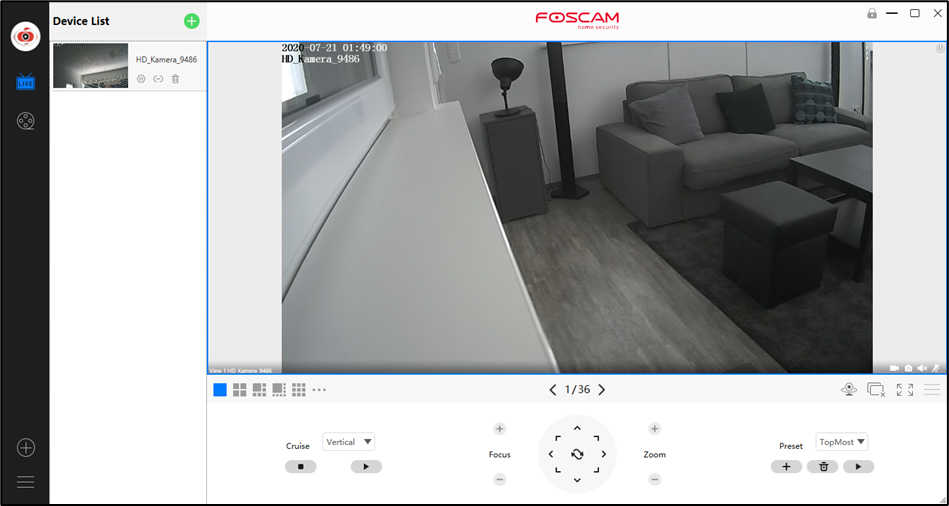
Die Kamera kann nun direkt bedient werden.
Grundeinstellungen der Kamera
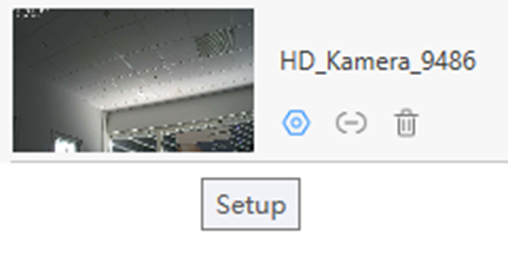
Zur weiteren Konfiguration klicken Sie auf das kleine Einstellrad rechts neben dem kleinen Vorschaubild der Kamera.
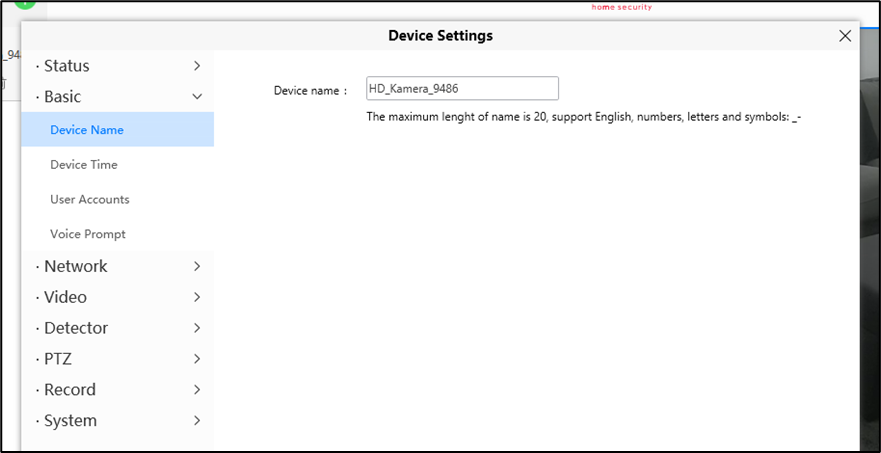
Namen festlegen
Auf Wunsch kann der Name angepasst werden.
WLAN Konfiguration
Unter Network > WiFi können Sie mit einem Klick auf „Scan“ nach verfügbaren WLAN-Netzten suchen. Klicken Sie das gewünschte Netzwerk an und tragen Sie den WLAN-Schlüssel ein.
Speichern Sie die Einstellung mit „SAVE“

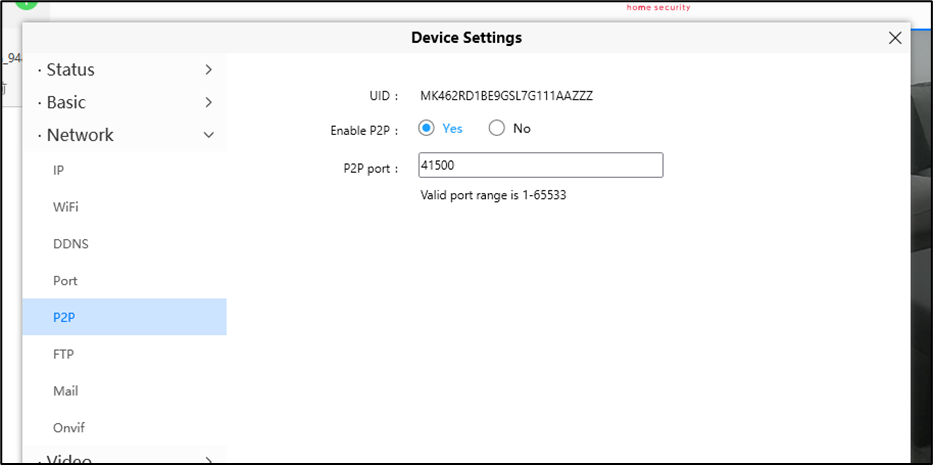
P2P
Wenn Sie auch außerhalb des lokalen Netzwerkes Live Bilder abrufen möchten, müssen Sie die P2P Funktion aktivieren und einen Port 1 und 65533 eintragen.
Bewegungserkennung – Motion Detection
Um die Bewegungserkennung in der SmartHome Box nutzen zu können, muss die Funktion an dieser Stelle eingeschaltet sein. Sie können die Empfindlichkeit mit dem oberen Regler einstellen.
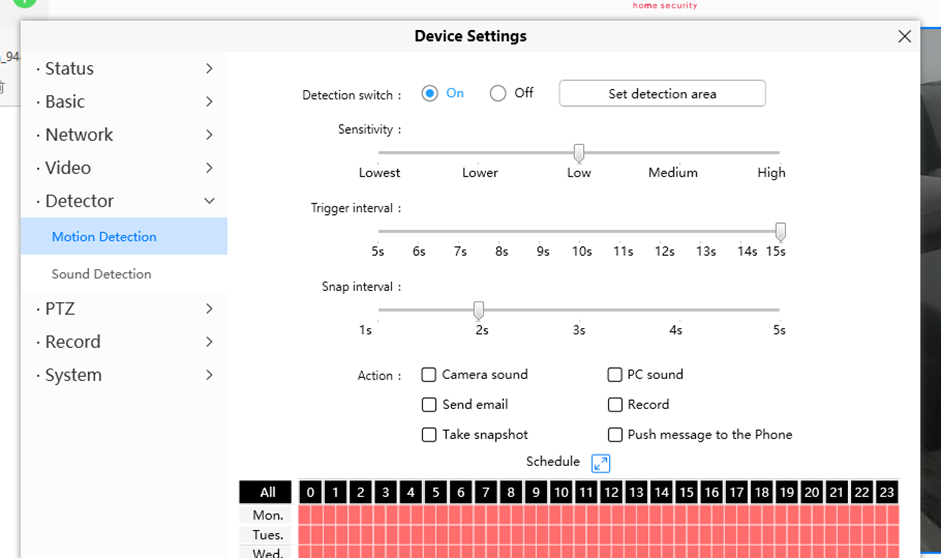
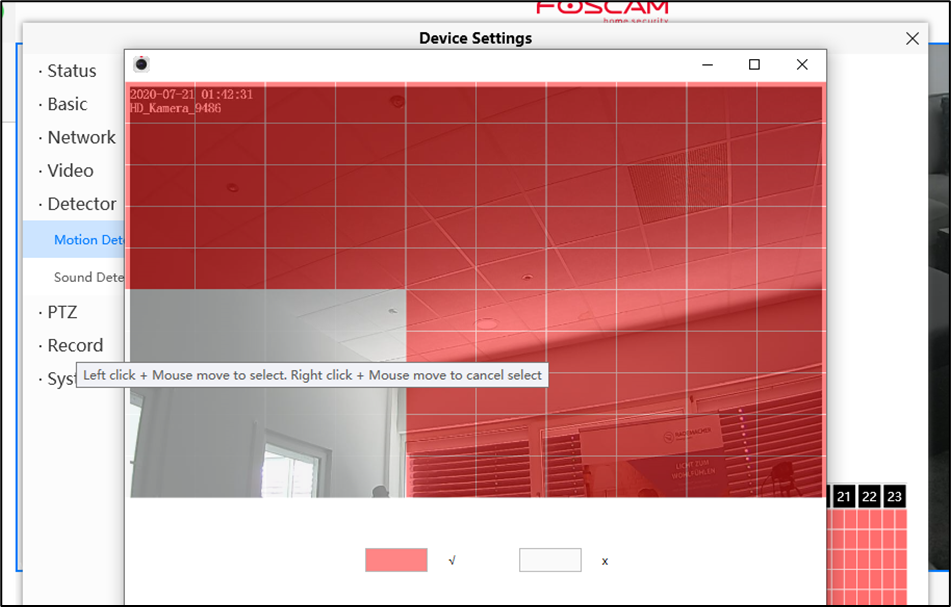
Bewegungsbereich festlegen
Speziell im Außenbereich kann es notwendig sein, in bestimmten Bereichen keine Bewegungserkennung zu nutzen, weil vielleicht Bäume oder Sträucher zu unerwünschter Bewegungserkennung führen. Nur in den rot markierten Bereichen wird eine Bewegung erkannt.
Hinweis:
Um Bereiche zu entfernen, drücken und halten Sie die rechte Maustaste und markieren den Bereich. Um Bereiche wieder hinzuzufügen, drücken und halten Sie die linke Maustaste und markieren den Bereich.